🧴
ShopDe.ee
An oven is regularly exposed to grease, steam and food particles. During cooking, these can settle on the walls, door and racks and become increasingly burnt on during later heating cycles. The result can be dark marks, sticky grease and unpleasant odours. The longer cleaning is postponed, the more effort it usually requires. Effective oven cleaning is less about aggressive scrubbing and more about using an appropriate cleaner, allowing the correct contact time and treating the surfaces carefully.
During cooking, oil, grease, sauces and food juices can splash onto the oven walls, floor, glass and racks.
At high temperatures, these residues dry and can bake onto the surface. Each subsequent cooking cycle can heat the same deposits again.
Regular light cleaning is therefore generally easier than occasionally dealing with several layers of burnt-on grease.
The oven should be switched off and sufficiently cool before cleaning. Do not apply a normal cleaning product to a hot surface unless its manufacturer explicitly instructs you to do so.
Remove oven trays and racks when the appliance design allows it. This provides better access to the interior and makes removable parts easier to clean separately.
Check both the appliance manual and the cleaning-product label. Catalytic, pyrolytic and other specialised oven surfaces may have different care requirements.
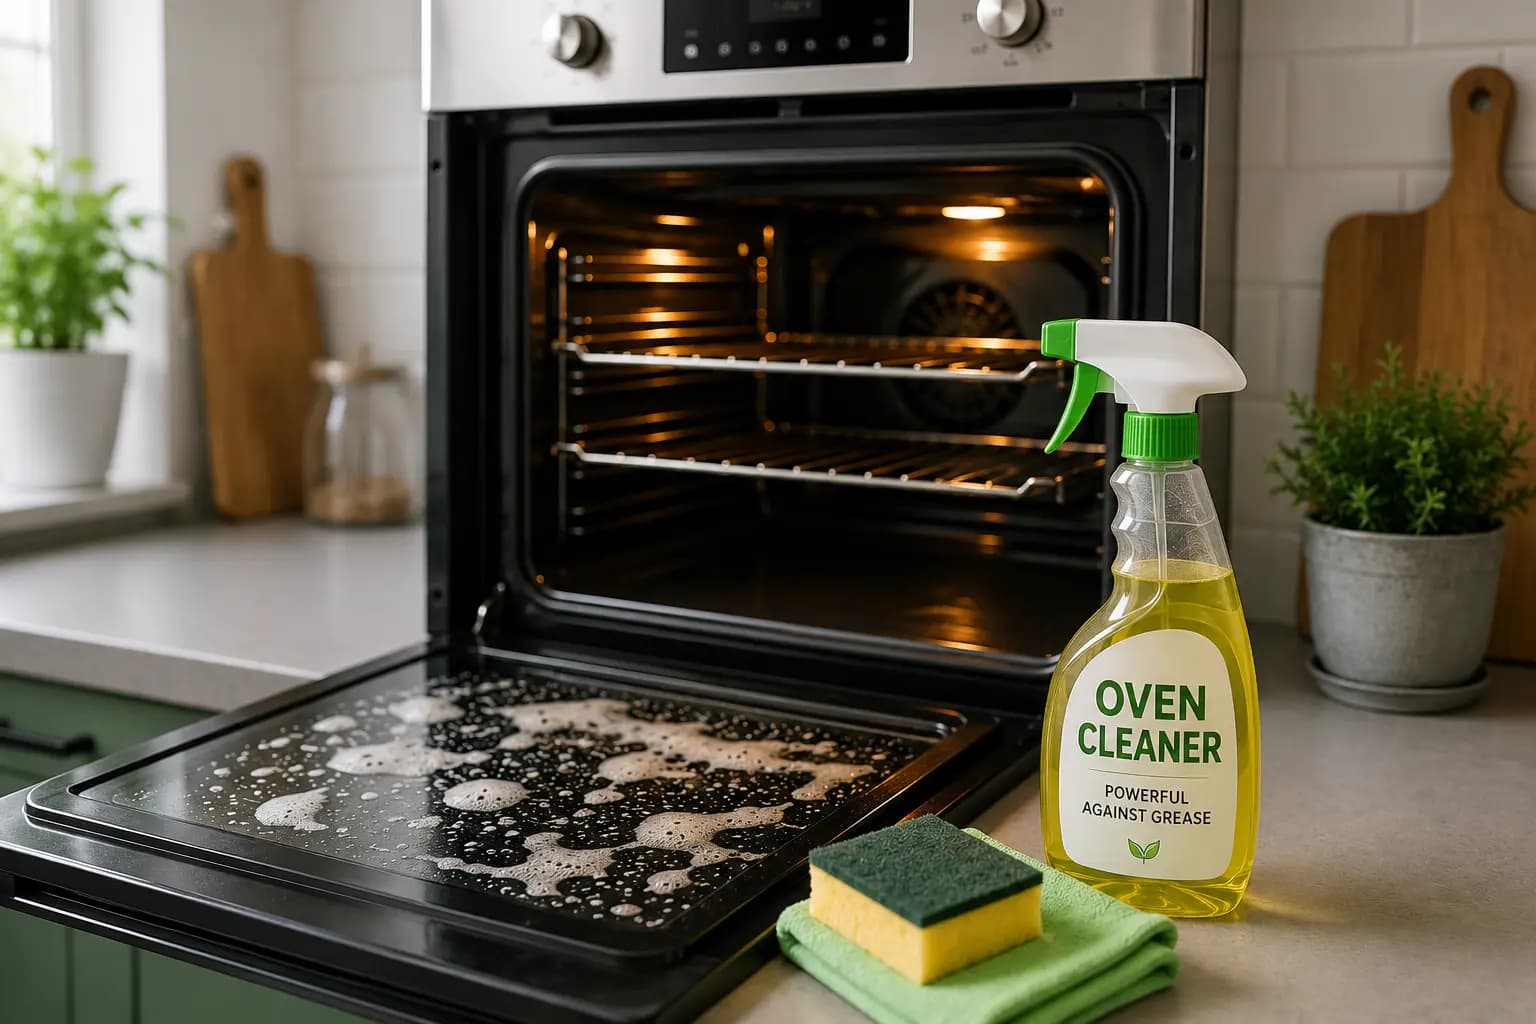
For routine cleaning, use a product designed for ovens and kitchen grease when it is compatible with your appliance.
Apply the cleaner according to its instructions and do not exceed the recommended contact time.
Once the dirt has softened, remove it with a soft sponge or cloth. Repeating the process can be preferable to immediately using a harsh abrasive.
After cleaning, thoroughly remove any product residue according to the instructions on the packaging.
Old grease has often been through many heating cycles and can therefore be much more firmly attached to the surface.
The key is to give a compatible cleaning product the amount of time specified by the manufacturer to soften the deposit.
Remove the softened layer gradually. Very stubborn areas may require another cleaning cycle.
Do not arbitrarily increase the contact time or concentration because this can damage the oven surface.
The inside of an oven door can develop a mixture of grease, condensation and burnt food particles. Repeated exposure to heat can make this layer dark and difficult to remove.
Use only a cleaner that is suitable for oven glass. Follow its contact-time instructions and remove the softened dirt with a soft sponge or microfibre cloth.
Avoid scraping the glass with random metal objects because they may leave visible scratches.
Some ovens allow the inner glass or door to be partially removed for cleaning. Only do this according to the appliance manufacturer's instructions.
Oven racks frequently collect grease and food residue. If they are removable, cleaning them separately is usually easier.
Use a cleaning method that is suitable for the rack material. Once deposits have softened, clean them with a non-damaging sponge or brush.
Pay particular attention to the intersections of the metal bars, where residue can remain trapped.
Before returning the racks to the oven, remove cleaning-product residue and allow the racks to dry.
Both specialised oven cleaners and household methods involving baking soda are commonly used for oven cleaning.
A dedicated product has the advantage of manufacturer instructions covering its intended purpose, contact time and suitable surfaces.
Baking soda is mildly abrasive and is sometimes used on individual deposits. However, even a mild abrasive should not automatically be considered safe for every oven coating.
If you are unsure what type of interior your oven has, consult the appliance manual first.
A general practical comparison. Compatibility always depends on the individual oven surface.
| Feature | Baking soda | Oven cleaner |
|---|---|---|
| Light grease | May help on compatible surfacesShopDe.ee rating | Usually specifically formulated for kitchen greaseShopDe.ee rating |
| Old burnt-on deposits | May require more time and repeated cleaning | Performance depends on the individual formula |
| Instructions | Surface compatibility must be assessed separately | Manufacturer provides application instructions |
| Abrasive action | Mild abrasive action | Depends on the individual formula |
Always check your oven manufacturer's recommendations before cleaning.
Some modern ovens include pyrolytic or other self-cleaning systems. Pyrolysis uses very high temperatures to turn food residue into material that can be removed after the programme finishes.
Use the function strictly according to the oven manufacturer's instructions. Racks, trays or telescopic runners may need to be removed first.
Do not apply a normal oven cleaner before running a self-cleaning programme unless the appliance instructions explicitly allow it.
Most attention is usually given to the oven floor and side walls, but grease can collect in less obvious areas too.
Check the inside of the door, upper areas, corners and the area around the opening. Take particular care with the door seal because aggressive mechanical cleaning may damage it.
Combining several cleaning products does not make oven cleaning better and can be dangerous.
In particular, chlorine-containing products should not be mixed with acidic cleaners.
Use one product during each cleaning cycle. Completely remove its residue before applying another product later.
Burnt residue can make aggressive scrubbing seem necessary, but this can scratch or damage the oven interior.
Another common mistake is using a cleaner that is unsuitable for the surface or leaving it in place far longer than recommended.
There is no single cleaning schedule because it depends on how often the oven is used and what is cooked in it.
Fresh visible spills are best removed after the oven has completely cooled instead of allowing them to become a thick layer of burnt-on grease.
Inspect the floor, walls and glass periodically. A noticeable smell of old grease or visible smoke during normal cooking may indicate that a more thorough clean is needed.
Basic maintenance can considerably reduce the amount of work required during a deep clean.
If food overflows or produces heavy splashes, remove the residue as soon as practical after the oven has completely cooled.
Use cookware that is appropriately sized for the food and avoid overfilling dishes containing large amounts of liquid.
The easiest strategy is to prevent grease from developing into a thick layer that has been repeatedly baked onto the surface.
For a deep clean, first identify the type of oven interior and check the appliance manual. Then use a compatible cleaning method and observe the recommended contact time.
For a heavily soiled oven, several careful cleaning stages are generally preferable to aggressive scrubbing with harsh abrasives.
What is the best way to remove old grease from an oven?
Use an oven cleaner that is compatible with your appliance interior. Allow it to work for the manufacturer's recommended contact time and gradually remove the softened residue.
How do I clean burnt residue from oven glass?
Use a suitable cleaner on completely cooled glass and clean it with a soft sponge or microfibre cloth. Avoid random metal scraping tools.
Can you clean an oven with baking soda?
Baking soda is used on some oven surfaces and deposits, but it is mildly abrasive and is not automatically suitable for every coating. Check the oven manufacturer's instructions first.
How often should an oven be cleaned?
It depends on how often it is used. Fresh spills are best removed once the oven has cooled rather than allowing them to develop into thick burnt-on deposits.
Can oven cleaner be used on oven glass?
Only when the cleaning-product manufacturer explicitly states that it is suitable for oven glass.
Can different oven cleaners be mixed?
No. Different household cleaning products should not be mixed. Use one cleaner at a time and remove its residue before using another.